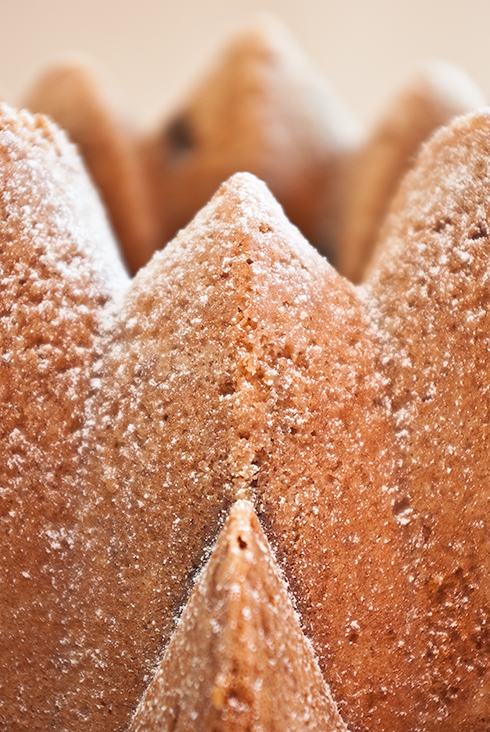
I'm not a fancy person most of the time, I like my food simple but delicious. I like my cake rich but not too sweet. I like this cake, a lot. Especially with the coffee glaze, coffee and chocolate is a combination that can't be beat.
This cake is moist, dense, and chocolate-y. All good things, it's perfect with a cup of coffee. It belongs in a café. I would love to have a café near my house that served cake like this one. My wallet, on the other hand, would not.
I'm finding more and that I cannot justify buying cakes from cafes. The knowledge that most of them are factory produced and shipped over 1000 kms (600 miles) to cafes in my city (rightfully) horrifies me. I think this speaks volumes of many of the cafes in my city that, undoubtedly, make delicious coffee but insist on serving awful mass produced cake. It makes me feel like such a snob but I can't help it. I suppose this isn't really a bad thing to be snobby about though!
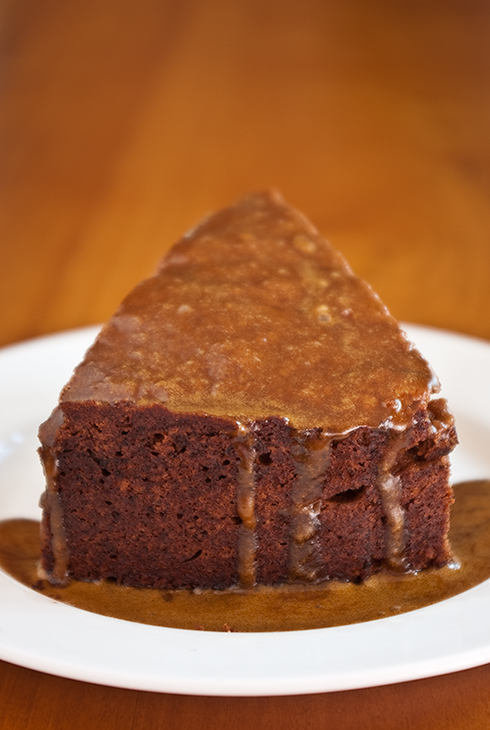
Caprese with coffee glaze
(from The Four Seasons of Italian Cooking by A.J. Battifarano and Alan Richardson)
makes 8-10 servings
115g (4 ounces) semisweet chocolate
115g (4 ounces) butter
75g (1/2 cup) sugar
4 large eggs, separated
1 cup ground almonds
1/3 cup all purpose flour
Preheat oven to 180°C (350°F) degrees. Butter a 20 cm (8") round cake tin and line the base with a round of baking paper. Butter the paper and lightly coat the pan with flour.
Melt the chocolate in a double boiler over barely simmering water and let cool to room temperature.
Beat the butter and sugar in a large bowl with a electric mixer at a high speed until it is light anf fluffy. Beat in the egg yolks, one at a time. Combine the almonds with the melted chocolate and blend the mixture into the batter. Add the flour and mix on a low speed until completely combined. Wash and dry the beaters.
In a separate bowl, beat the egg whites at medium speed until they are stiff but not dry. Using a large rubber spatula, stir one quarter of the egg whites into the chocolate batter. Gently fold in the remaining egg whites, being careful not to over blend.
Pour the batter into the prepared cake tin and bake for 40 minutes, or until a toothpick inserted into the centre fo the cake comes out clean. Transfer the cake to a rack to cool for 10 minutes, then unmold and cool completely.
Serve with coffee glaze.
Coffee Glaze
1 teaspoon instant coffee
30ml (1/8 cup) boiling water
35g (1/4 cup) icing sugar, sifted
combine instant coffee with boiling water and whisk until all lumps are gone. Pour coffee mixture into the sifted icing sugar and whisk until smooth.